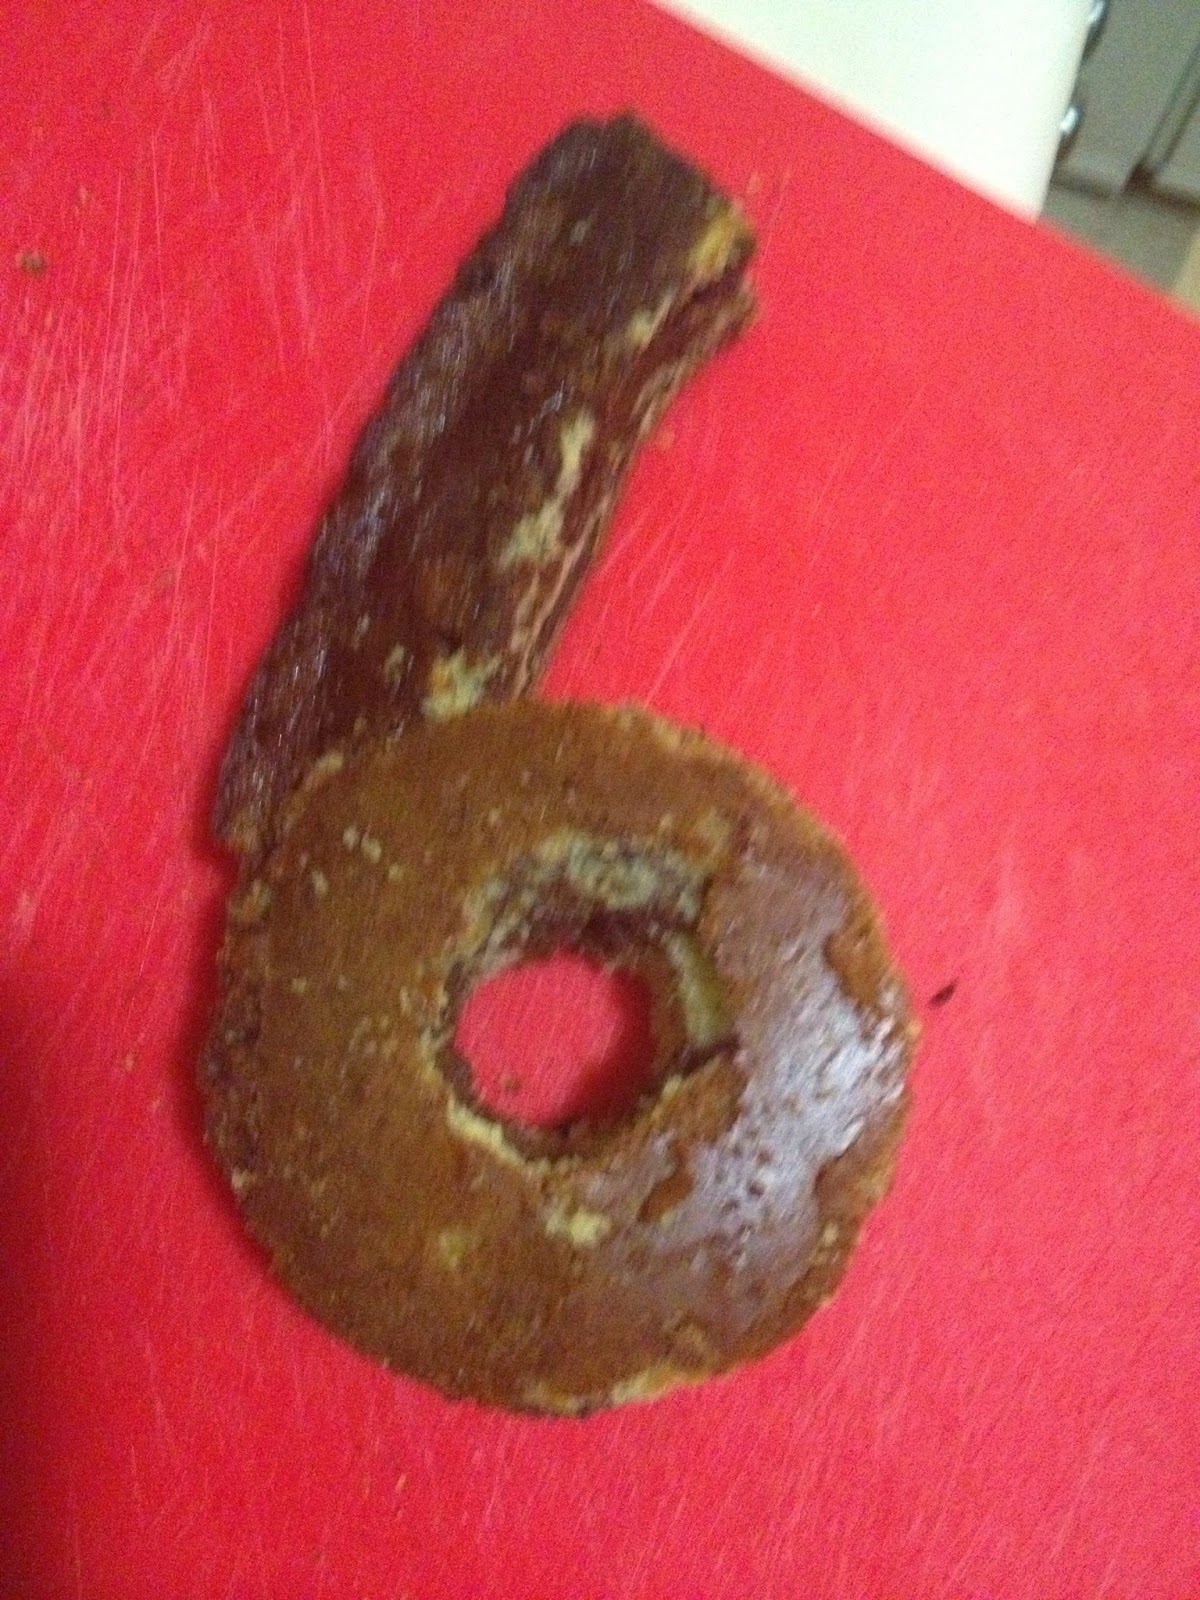
My son had his birthday this week. He had a decently big party a few days earlier. But there was no way I was not having a cake cutting for him on the actual day of his birthday. I therefore decided to make a 3-D number cake for him. My neighbor's son's birthday was a day after my son's birthday. He turned six. I decided to make a surprise number cake for him too. So there I was wanting to make two cakes. But was I about to bake two cakes??? No way!! I was going to bake one cake and make 2 cakes out of it! I always wanted to try out the zebra cake! I decided to make a zebra cake in a 13x 9 pan with the flavors of vanilla and chocolate. I then carved out the numbers out of it.The cakes were going to be small. I did a number 3 for my son and a number 6 for my neighbor.I got the ideas for the 3-D number cakes from here.
I used a 8-inch cake board for each one of them. I even managed to get a few slices for us to eat! I like mine without the icing.
Being that it was a week-day, I did not have too much time on my hands. I decided to use store-bought frosting. Being that the store-bought frosting is thin, and I didn't have too much time to harden the frosting in the fridge, it was a slightly messy affair. How do I fix it?? I decided to decorate the cake with M& Ms to take away the attention from the messy frosting job! Well it was a success. I iced my son's cake with vanilla frosting and since my neighbor's was the next day, I mixed the rest of the frosting with some cocoa powder and iced his # 6, left it in the freezer and next day decorated it with M& Ms! That's why his cake was not melting!!Overall, my son was happy and my neighbor's son was pleasantly surprised! All that ends well!Servings: 4-6 per cake
Ingredients:
Flour: 1 1/2 cupsBaking powder: 1 tspSalt: 1/4 tspSugar: 1 cupButter: 1 cupVanilla extract: 1 tspEggs: 3 largeMilk :1/4 cupCocoa powder: 2 tbspVanilla frosting: 1 1/2 cupChocolate frosting: 1 1/2 cup M & Ms: 1 big packetMethod:
Preheat the oven to 350 deg F.Grease the bottom only of a 13x 9 pan and keep aside.Mix together flour, baking powder and salt and keep aside.Add 2 tbsp cocoa powder to 1/4 cup milk at room temperature. Mix well and keep aside.Using an electric beater, cream sugar and butter until smooth. Add eggs one by one and beat well.Add vanilla and mix well. Now add in the dry ingredients little at a time, mixing well in between. Be careful not to overmix!
Divide the batter equally into two bowls. To one bowl add the cocoa powder and milk mixture. Mix well.Now in the center of the pan pour 2 tbsp of chocolate mixed batter. On the center of this one pour 2 tbsp of vanilla cake mix .
Now do the same with the chocolate mixture again. Keep repeating this process until all the batter has been used up!
Place the pan on the center rack of the oven and bake for 25-30 minutes or until a toothpick tester comes out clean.
Take the cake out of the oven and let it sit in the pan for 30 mins before taking it out.I placed a wooden cutting board on top of it and inverted the pan. Let the cake cool down completely before attempting to carve out the numbers.Since I had to make both the number three and the number six, I needed 3 circles. I used the lid of the Pillsbury frosting to carve out 3 round pieces of the cake.
I then used a small bottle cap to carve out the center of the round cake to make a donut.For the number three, I cut out 1/4 the of the circle from one donut and 1/3 rd from the other. I now put the two pieces together on the cake board to make number 3.
For number six, I cut 1.5 inch wide and 6 inch long rectangle from the leftover cake. I attached it to the side of the donut to make number 6.I then frosted the number 3 with vanilla buttercream frosting and number 6 with chocolate frosting.
I put them in the fridge for 2-3 hours to firm up.My kids then helped me decorate it with lots of M & Ms!!
The number cakes were ready!Do try it. It is lots of fun! I am bringing this to Simple Supper Tuesday at hun whats for dinner.Cooking made easy:
You could use store-bought plain round cake and carve out the numbers from that.You could use store-bought frosting to do a crumb coating and then stick the M & Ms to make it pretty!
Tip for healthy living:
Serve and eat desserts in very small portion. That ways you would have satisfied your sweet tooth without abusing your body.Food for thought:
There are two ways of spreading light: to be the candle or the mirror that reflects it. Edith Wharton


Servings: 12-15
Ingredients:
For the cake:Boxed cake mixes: 2( I used Pillsbury Devil's Food)Eggs: 6Water: 2 cupsOil: 1 cup ( I used canola oil)
For the butter-cream icing:( to make 5 cups icing):Confectioner's Sugar: 8 cupsButter: 2cups ( at room temperature)Vanilla essence: 3 tspMilk/water: 4 tbspFor decorating the doll:Small edible pink beads: 24 nosMethod:
For the cake:Preheat the oven to 350 deg F.Assemble the dome shaped cake pan as per instructions.Prepare the cake pan by spraying non-stick spray. Keep it aside.Prepare the cake batter as per instructions on the cake box.Pour the cake batter into the cake pan until 2/3 rds full.Place it on the center rack of the oven and bake for 70 mins at 350 deg F.
At the end of 65 mins, check if the cake is done by inserting a skewer into the center of the cake. If done, the skewer will come out clean. If not done, bake for additional 5 mins and check again. Repeat this in 5 min intervals until the cake is done.Remove the cake out of the oven and let it cool on the cooling rack for 15 mins.Next, slice the dome shaped top and level the cake.Remove the cake out of the pan and let it cool down for atleast another hour on the cooling rack before icing.Place a thin layer of icing on the center of the cake board .When cooled, invert the cake onto a cake board. The icing will keep the cake in place and prevent it from moving.Crumb-coating the cake:Take 1 cup of icing in a bowl and thin it. Now apply a coating of this icing to the above cooled cake.
Crumb-coating the cake makes it easier to ice the cake.Once you have applied the crumb coating, place the cake in the refrigerator for atleast 2 hours so that the coating can set.Icing the cake:In the mean time you can prepare the icing. All icing is of medium consistency.Take 4 cups of icing and color it light pink using gel color.Keep one cup of icing white. Fill the white icing in a bag and set it ready with tip 101.Using a spatula, apply a 1 inch thick coating of light pink icing. Using the back of the teaspoon create the pleats on her skirt.Now color the remaining light pink icing into dark pink using more pink gel color. Fill it in a bag and fit tip 3.Now using tip 3 make the bodice of the dress on the cake doll. Keep it aside and let it set for 30 mins.In the mean time you can make the white ruffles at the hem of her dress. When done move the tip 101 to the icing with dark pink icing and make the next layer of ruffles. You can make as many layers as you wish. I had to improvise as I was running out of icing.Using Tip 3 make another layer of the arches above the ruffles.Now stick the doll into the cake. Now do the dark pink of the dress around her waist. You could be as creative as you wish with the dress.I then fixed the pink decorator sugar pearls around her dress.
My daughter gave me a small tiara/ crown that I could fit on her head . You could make the crown with card paper.Voila ! the princess cake is ready! Let it set in the fridge until the cake is ready to be cut!Cooking made easy:
You could make any disney princess from the above method. I used the Wilton cake-doll that came with the set. If you want an authentic look, you could use the actual doll that is available in the stores ( as I did with my Tinker Bell cake). In this case you will have to wrap the doll in Saran Wrap and then insert the doll into the cake.Tip for healthy living:
For naturally exfoliating your skin, make a home-made scrub by mixing together 1 tbsp oatmeal powder, 1 tbsp milk and 1/2 tsp honey. Mix it into a paste. With your fingers rub your skin in circular motion with your fingers. Wash off with lukewarm water. You will have naturally radiant skin.Food for thought:
A creative man is motivated by the desire to achieve, not by the desire to beat others. Ayn Rand